As a network administrator, one of the requirements
in my job scope is to have regular backup for the switches and routers in our
network. But sometimes, there are several “legacy” router / switches that we
still use until this day. If we want to back up the configuration, it become more
troublesome as we are unable to save their using existing method (‘copy the
configuration and paste it on notepad). So, one of the ways to do this is by using
TFTP server and it’s very easy.
In this
guide, I will be using 3com 3226 switch as our references and configure my own
laptop as the TFTP server.
Requirement
TFTPD32
– You can download here in this Link: tftpd32.jounin.net
3Com 3226 switch
Laptop
Network connection
to your Switch
Procedure
Step 1: Install the
TFTPD32 by installer. The installation itself is self-explanatory. So I don’t
think you will have problem with that.


Don’t
forget to allow firewall acces for your TFTP server in Windows Security

Step 2: Get your
Laptop IP.

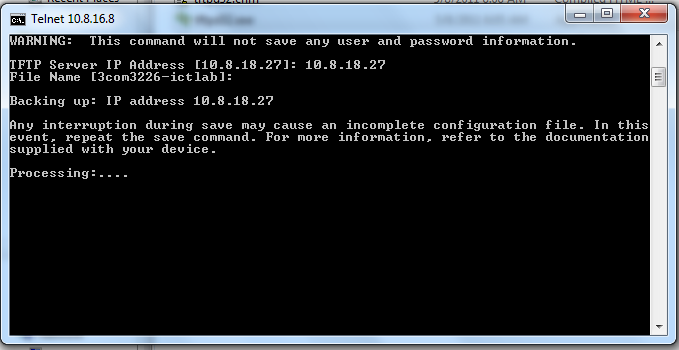
Step 3: Go to your
router. And find the correct syntax to download configuration file. For
example, in the 3com S3226: go to system > backupConfig > save


Here you need to
define the IP server of the TFTP. In our case, we need to put our laptop IP.
Also do not forget to name the file that need to be save.


Step 4: Open up your
TFTPD32 folder. You will see the configuration that has been save there. Verify
the configuration by open it to your favorite editor such as notepad.

And you have done! Hope
this will help whoever stumbles upon the same problem.


